This procedure is for setting up newly acquired device that will be opting for the device management scheme. Please refer to Device management using Microsoft Intune for information on other deployment options.
Starting from January 1, 2023, the new desktop devices procured through standard term contracts will come with Windows 11 Professional Edition. These devices are ready for Intune onboarding. This page provides detailed procedures for installation and Intune onboarding.
Steps to be performed by device user (who must possess a valid HKUST account)
A. Install Windows 11 Pro
Here are some points to note during the installation process:
-
Network Connection during installation
- For wireless connection, please refer to On-Campus WI-FI connection for the campus community.
- For wired connection in office area, plug-in network cable. ITSO will provide limited network access to allow the Windows 11 installation to complete. Once successful Intune onboarding is done, the device's network connection will be automatically registered and granted full access to all sites and services. No manual node registration is required.
-
Device Naming
During installation, you'll be given an option to name your device.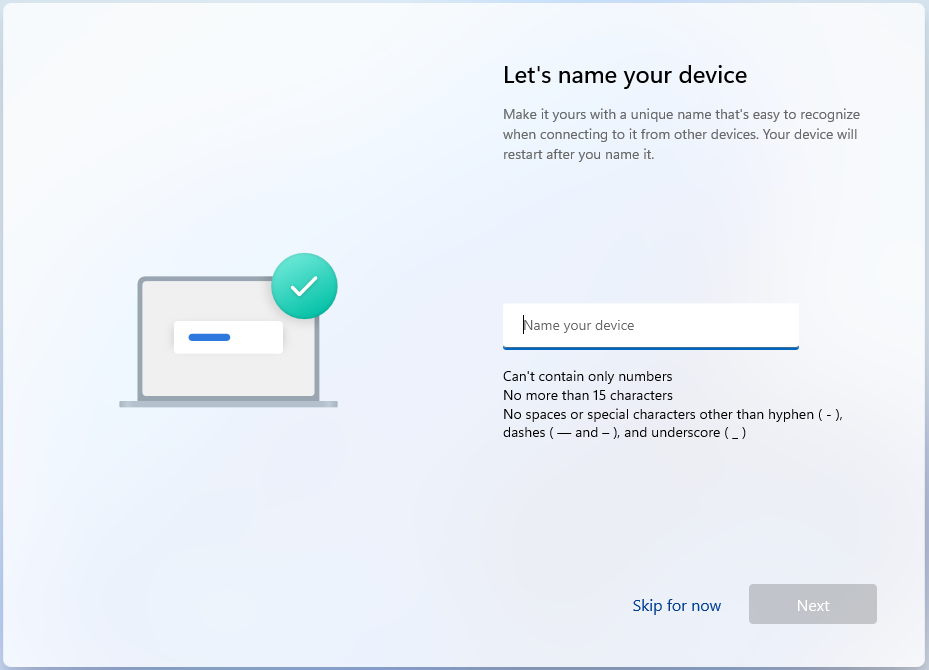
ITSO imposes no restrictions on computer names for new Windows 10/11 devices enrolling in Intune. However, we strongly recommend changing your device name at this stage. Changing the device name now will make it easier for you to manage your devices and help locate them in case of future security alerts. ITSO suggests using the following naming convention:
- [dept]-[Abbreviation or Team or Owner]-[sequence]
e.g., ITSO-DIR-001, ITSO-PROJ-001 or ITSO-CCTEST-001
- [dept]-[Abbreviation or Team or Owner]-[sequence]
B. Enroll the device using ITSC account of the device user
Upon renaming device and device restart
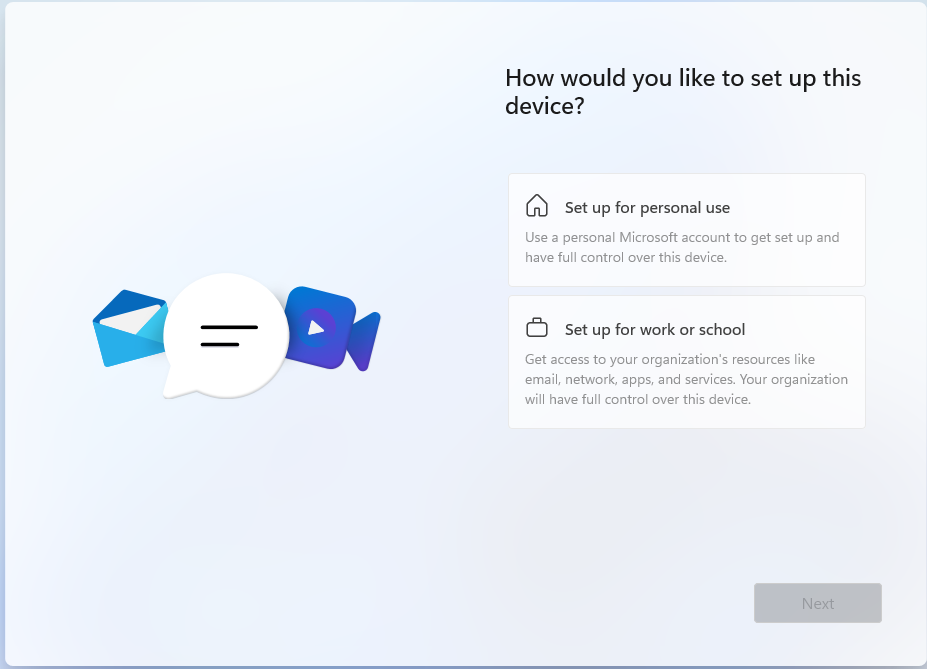
- At the "How would you like to set up this device?" page, select "Set up for work or school", and click "Next".
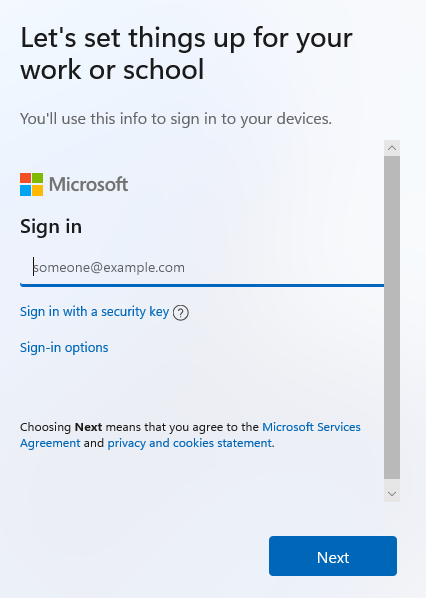
- At the prompt "Let's set things up for your work or school", enter your HKUST account credentials (i.e., johnchan@ust.hk) and complete the MFA challenge using DUO mobile (or other registered authentication methods). Please note that the account you provided here will be the owner and administrator of the device. The new Bitlocker key will be stored under this account's devices.
-
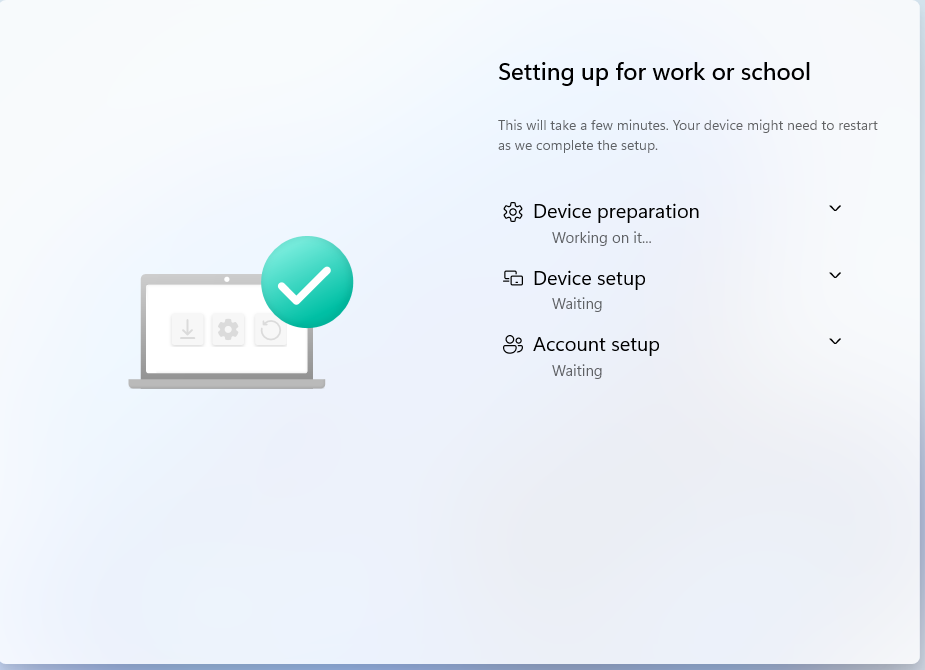
Wait until the installation completed and follow the set-up instructions
C. Enable Windows Hello PIN Login
After the installation is complete and the machine boots up, you will be required to configure Windows Hello. Windows Hello is a new way of signing into your device using PIN or Biometric. You won't need type a complex password to login. Please refer to our Passwordless page for learn about the benefits of setting up Windows Hello.
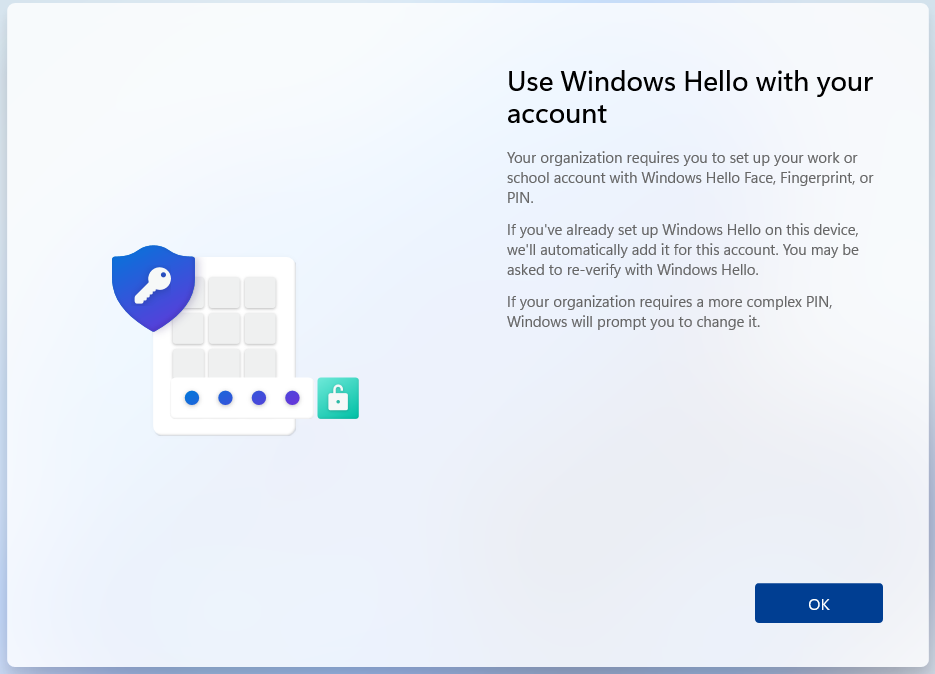
Now, simply follow the on-screen instructions to sign on your HKUST account again. If you haven't yet set up the Azure MFA yet, you'll be asked to setup at this step before the Windows Hello PIN. This is required as it is used to reset the Windows Hello PIN or biometric if needed. We recommend setting up the Microsoft Authenticator App as your preferred Azure MFA method, and you can enable Passwordless authentication for browser-based applications at a later stage.
Follow the steps and you'll finally reach "All Set".
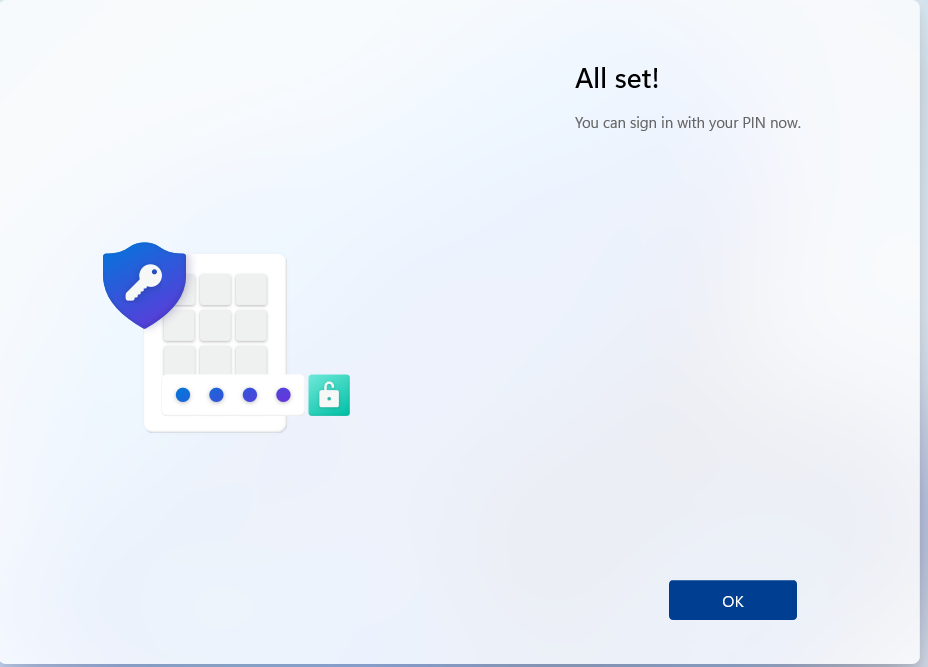
Now, the installation of your new desktop device has bee completed. You may login your HKUST account on this device using PIN in future.
D. Verify Intune EnrolLment
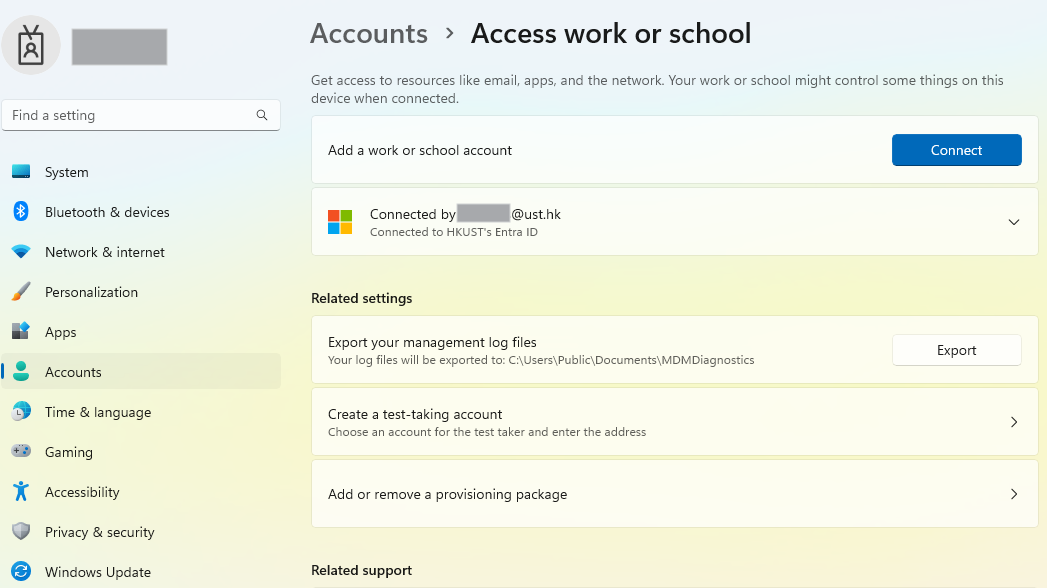
- Verify Intune Enrolment
You can verify your device enrolment status by checking the presence of "Managed by HKUST - Info" under "Settings", "Accounts", "Access work or school", "Connected to HKUST's Entra ID".
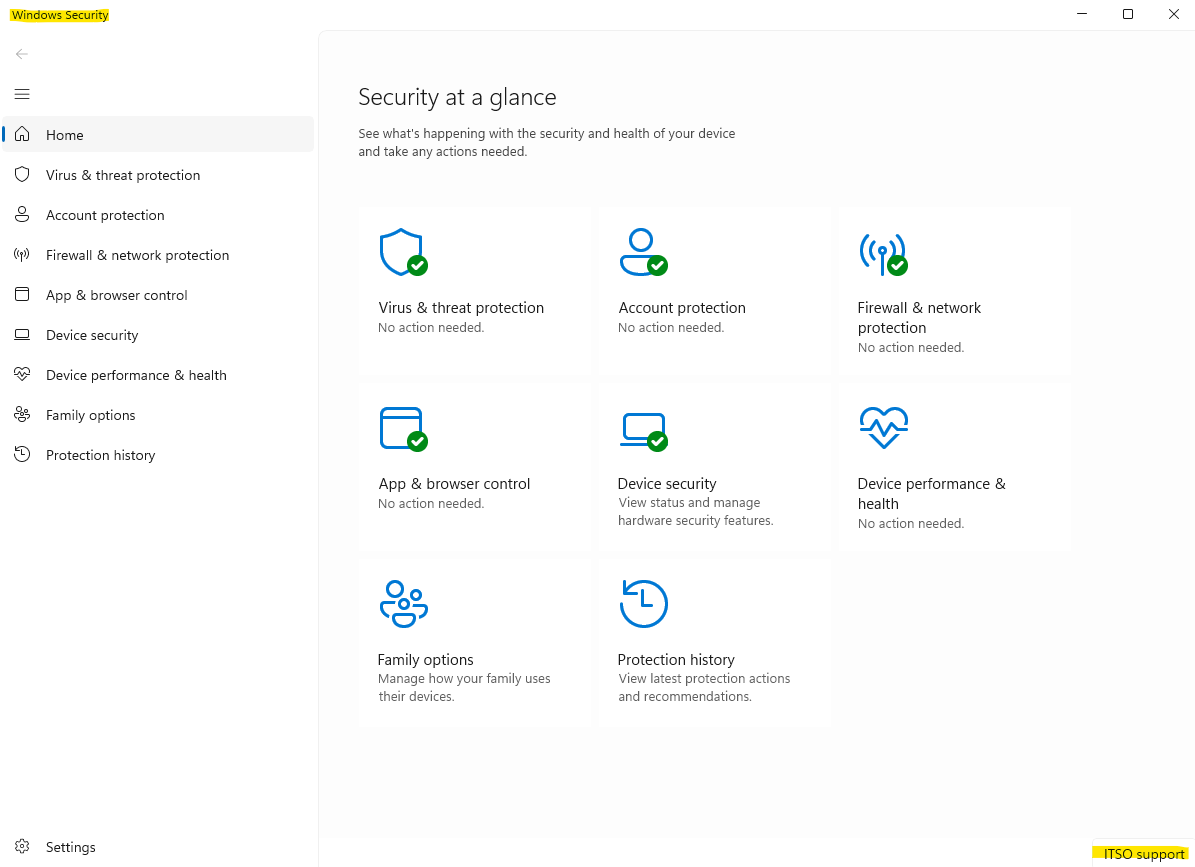
- Verify Microsoft Defender for Endpoint protection.
Your device should also be protected by the Microsoft Defender for Endpoint. This could be verified by checking the presence of "ITSO Support" under the "Windows Security" application page.