This guide is targetted for HKUST students to prepare their Apple MacOS machine for Online Teaching in Year 2021. It will guide the user to:
- Download and Install Zoom client software on MacOS.
- Configure Zoom client with SSO (Single-Sign-On) using HKUST account.
- Download and Install Zoom client software
- Start the web browser and point to https://hkust.zoom.us/download to download the ZOOM Client software.
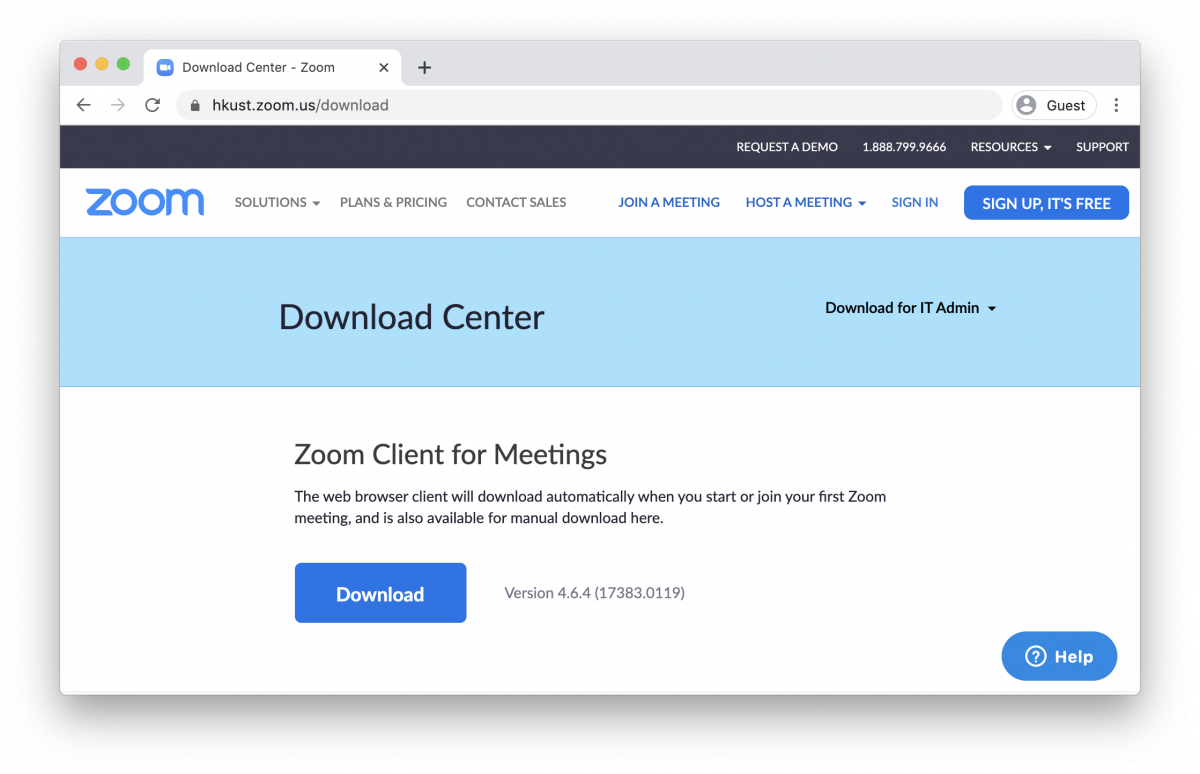
- Locate the section Zoom Client for Meetings and click Download button to Download the software.
- Start the web browser and point to https://hkust.zoom.us/download to download the ZOOM Client software.
- Configure Zoom client to login with your HKUST account
- Locate and Start the Zoom software downloaded in previous step. Normally, it should be named zoom.pkg in your Downloads folder.
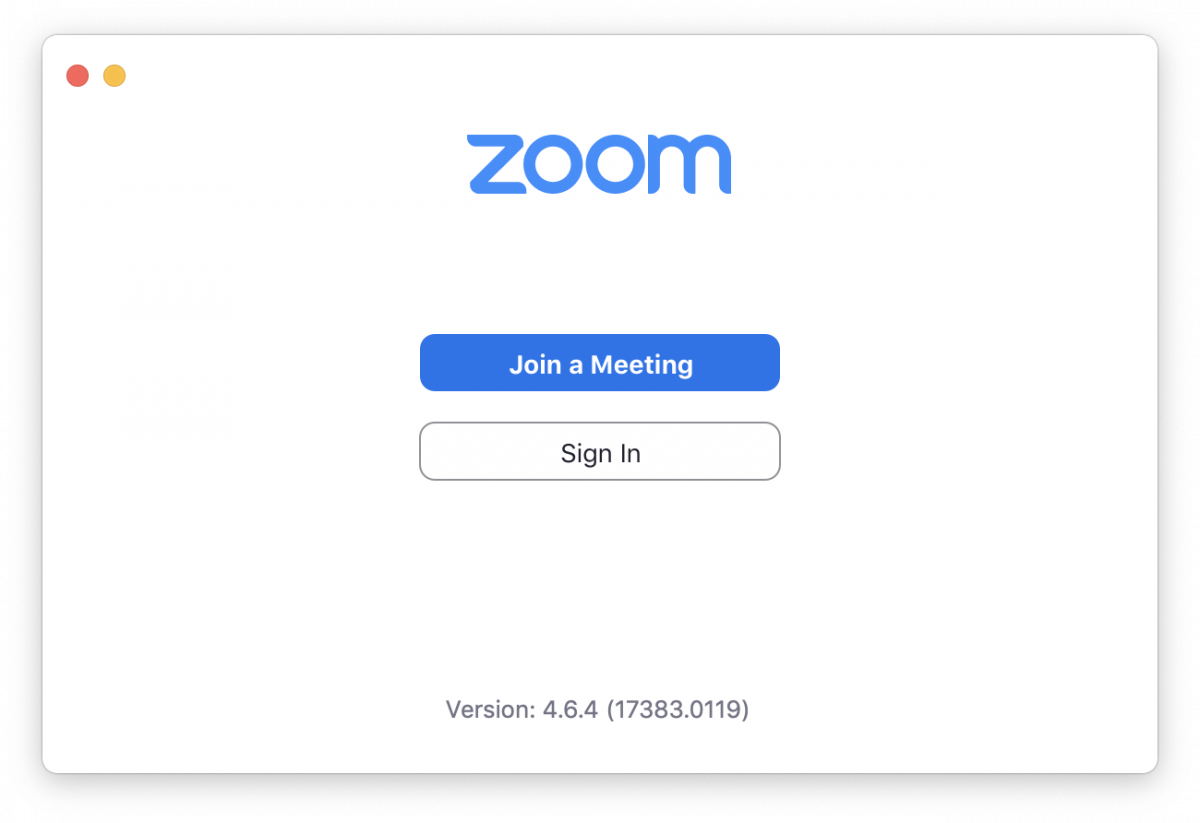
- Click Sign In and the Sign In screen will be shown as below:
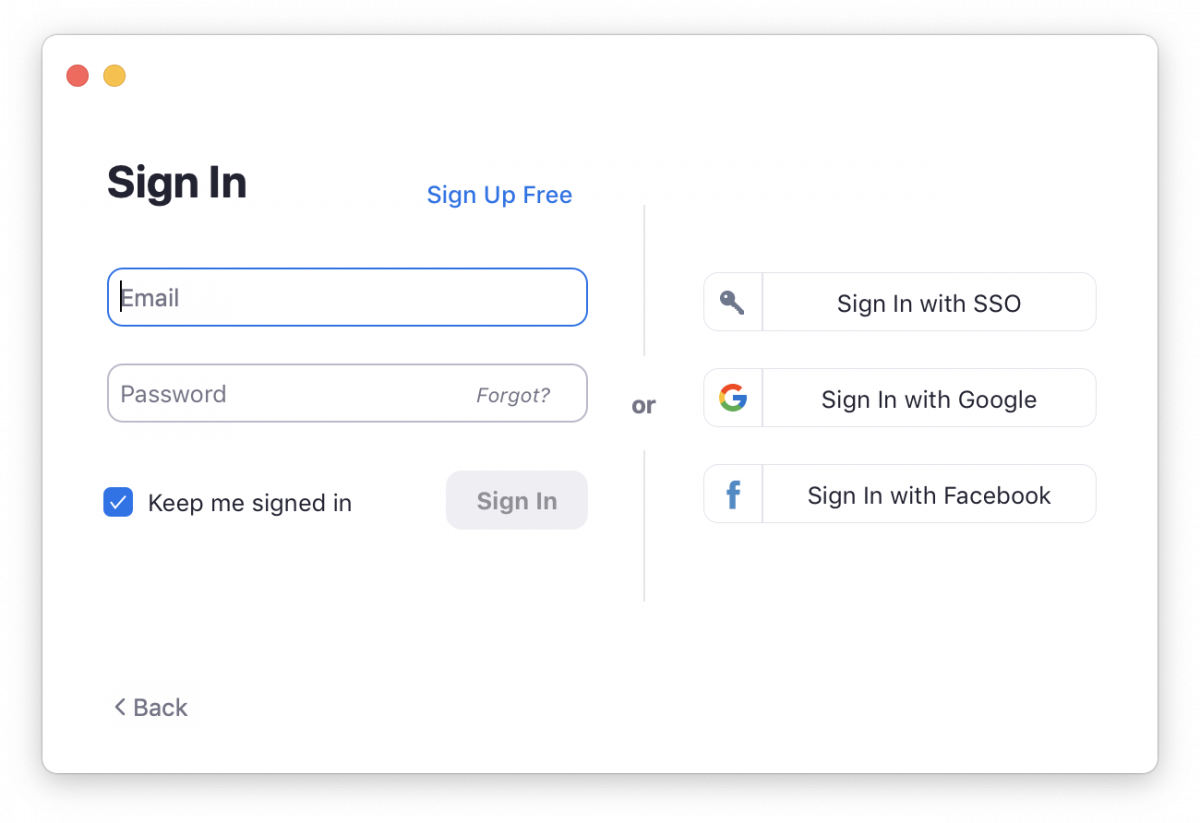
- Click Sign in with SSO button and the Sign In with SSO screen will appears.
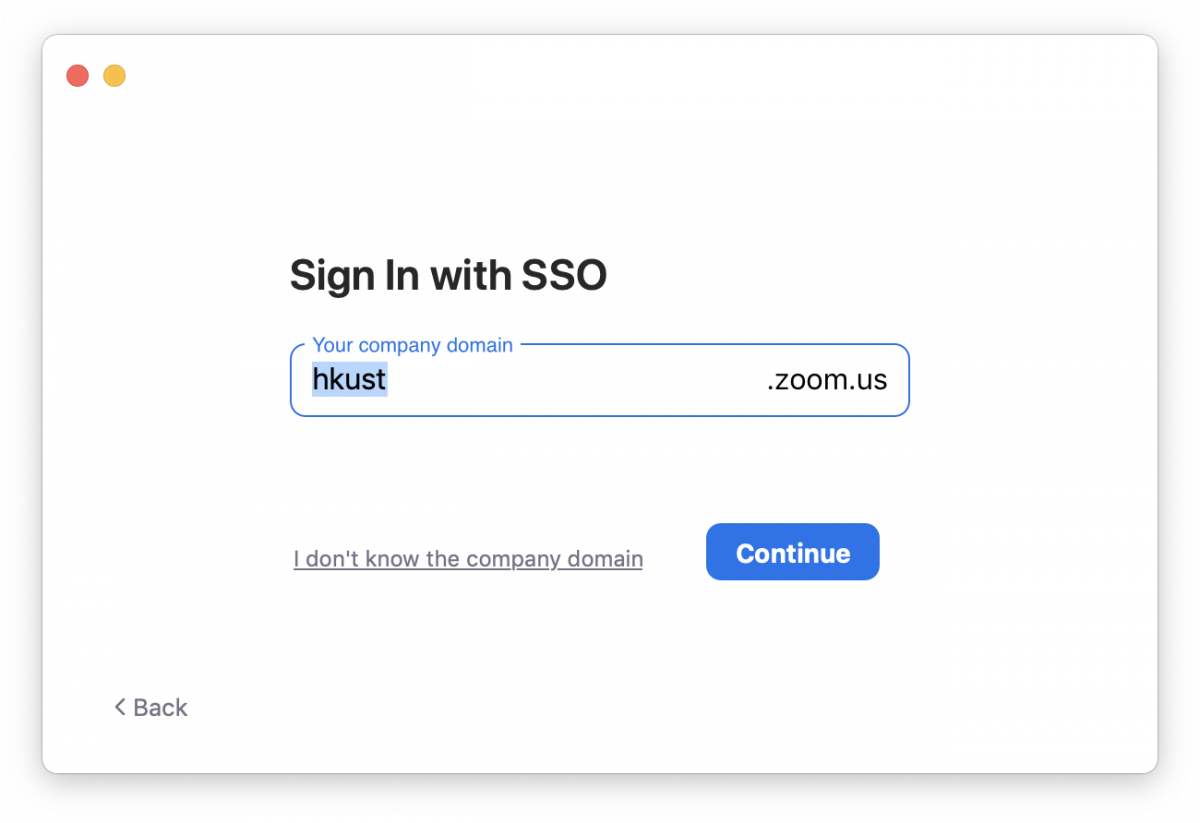
- Type in "hkust" in the Company Domain field and click continue.The system will bring up the browser and direct you to the HKUST Authentication Service webpage.
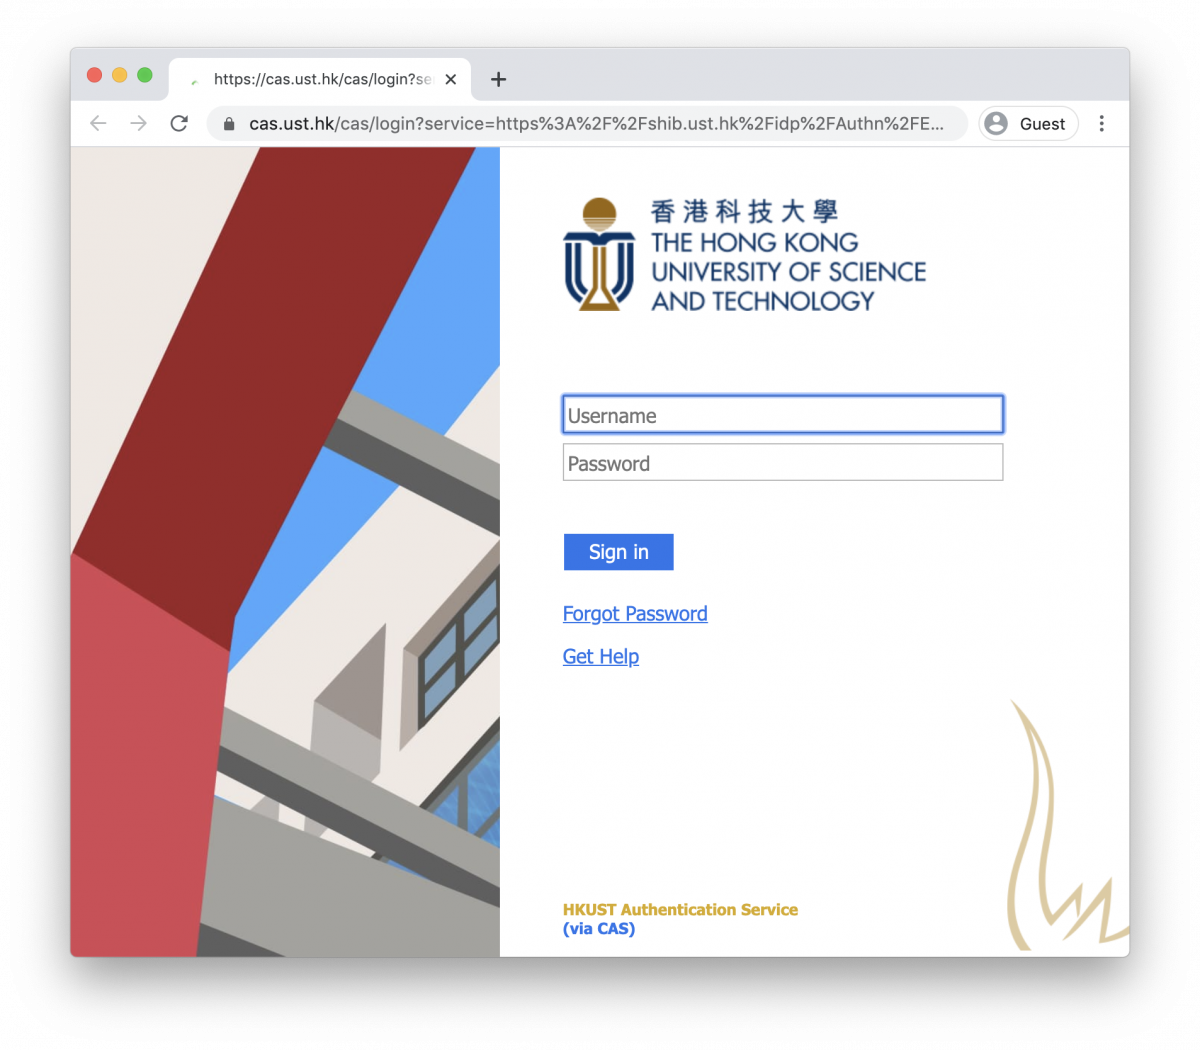
- Sign-In with your HKUST account and password. After successful sign in, you will be prompt to Launch Zoom.
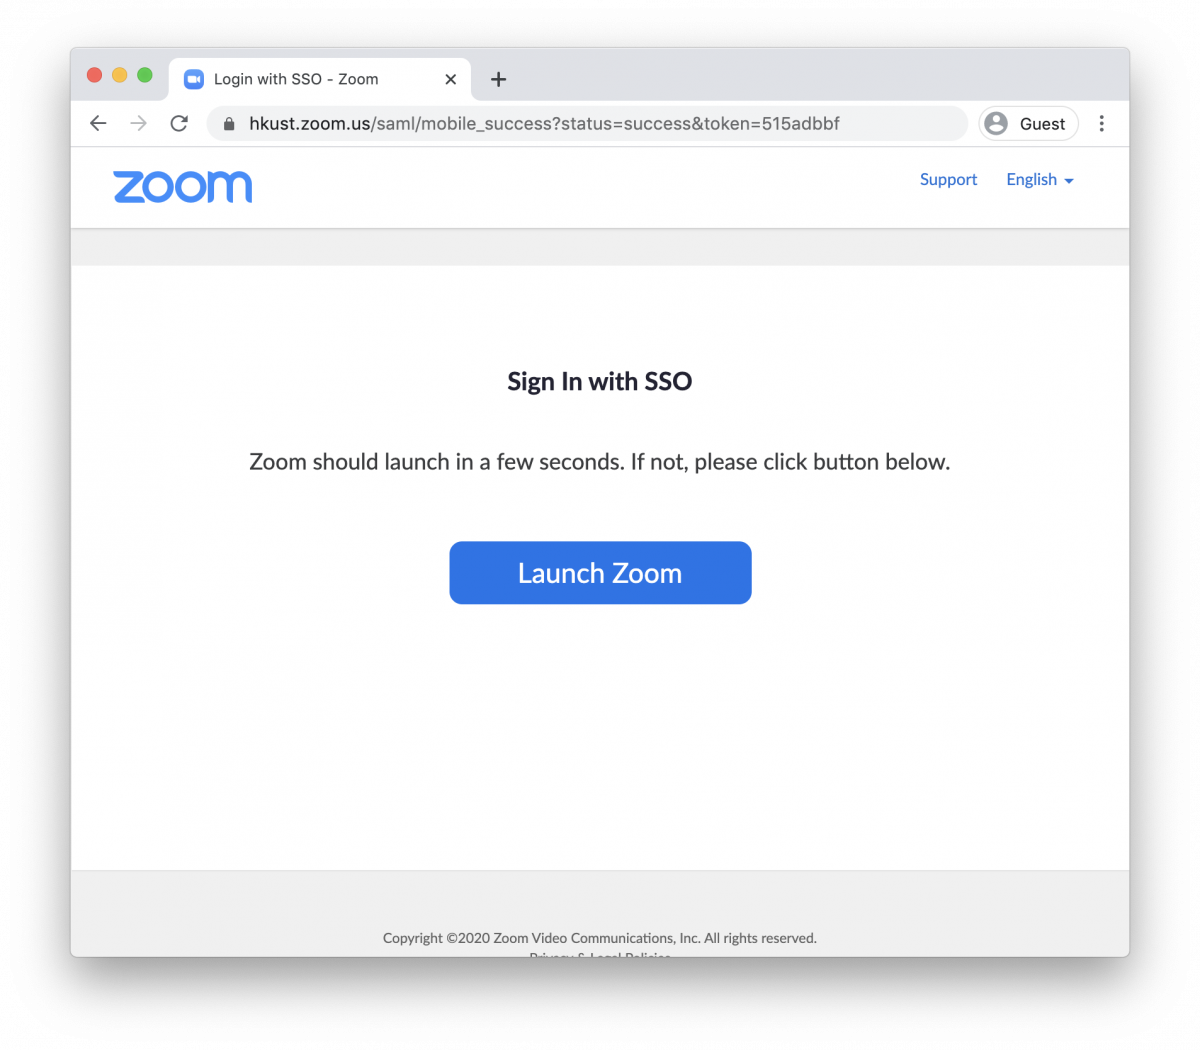
- Click Launch Zoom button. The Zoom client window will appears:
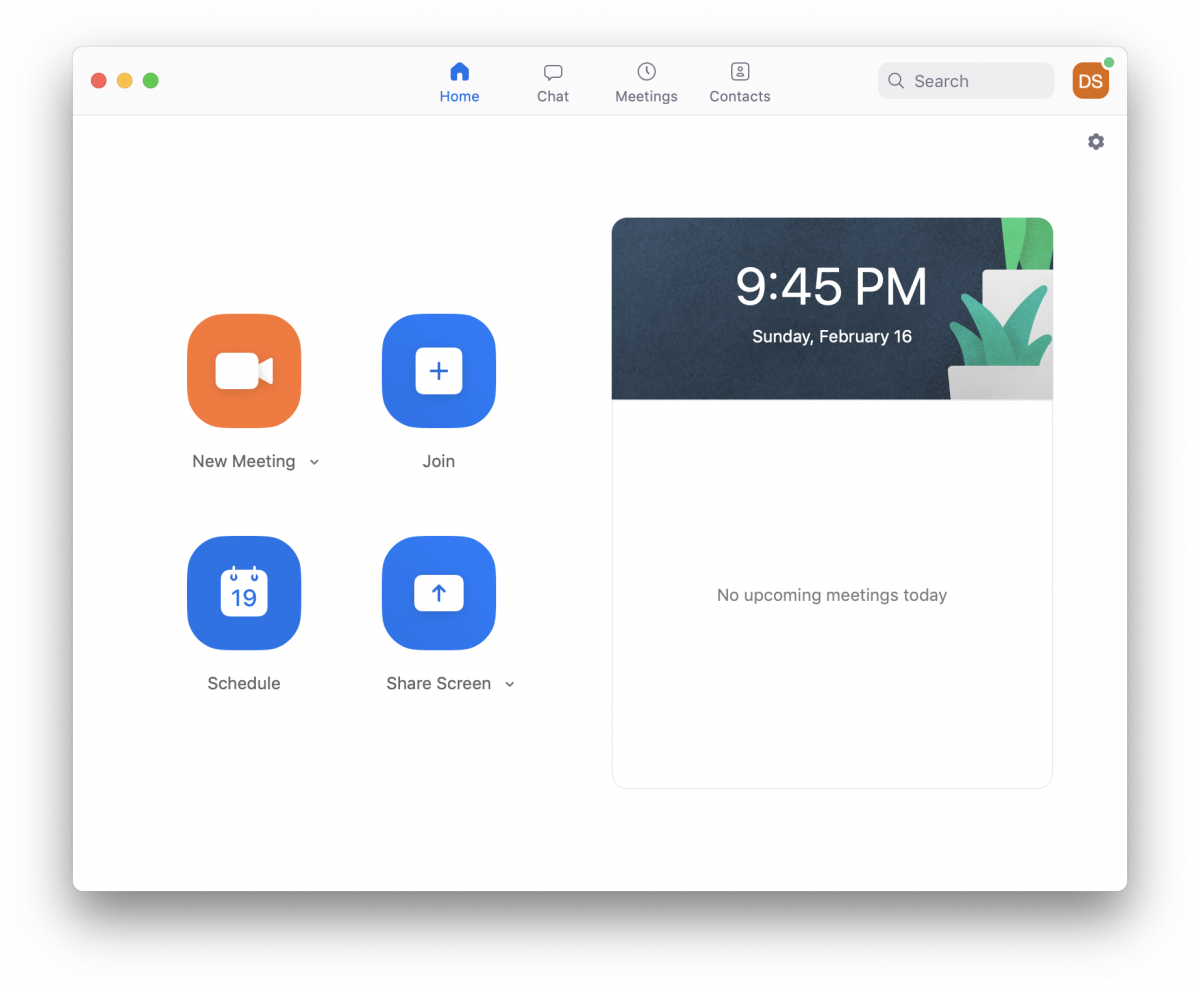
- You have now successfully sign in Zoom and ready to join Online Class.
- Locate and Start the Zoom software downloaded in previous step. Normally, it should be named zoom.pkg in your Downloads folder.
